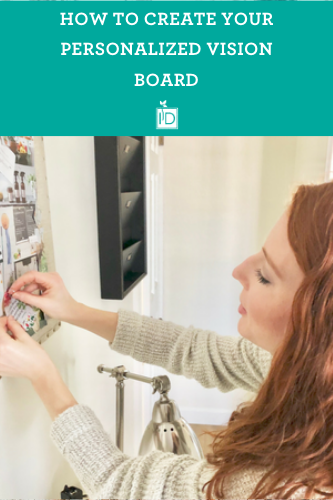
How to Create Your Personalized Vision Board
“Creating a vision board is a tangible, inspirational way to help you imagine and determine what you want to do in the days and weeks ahead.” ~ Meghan Meredith
Visualization is a powerful tool military spouses can use to see and discern goals, dreams, and the lifestyle you desire to live. Creating a vision board is a tangible, inspirational way to help you imagine and determine what you want to do in the days and weeks ahead.
You can use cork board, card stock, a poster board, or even a blank piece of computer paper to create your vision board. Our minds respond strongly to visual stimulation and diagrams. I don’t know about you, but I am definitely more of a visual learner than one who learns by hearing. I need to see it with my eyes and then do it with my hands. I think this is also part of the reason why I love paper so much and why I write down my schedule and tasks daily. There is just something so fulfilling about using good ol’ pen and paper rather than relying solely on technology.
Our brains do incredible things when we write things down. Not only does writing help us to better remember information, but it can also drastically increase our likelihood of doing something. If we just think about our dreams, goals, or how we want to live our lives, we are only activating one part of our brain—the right hemisphere, which is responsible for imagination, creativity, emotion, abstract thinking, intuition, and visual information. When we write something down, we tap into the left hemisphere of our brain which controls logic, writing, reading, speaking, analyzing information, and reasoning.
The outcome of our goals and dreams is highly dependent upon our ability to act and begin taking necessary steps forward. Through creating a vision board, and “seeing” your goals and dreams, you will have more skin in the game, more commitment to actually see these things through versus just thinking about them on a few one-off occasions.
Below are six simple steps you can take today to craft your own personalized vision board. You can spend as much or as little time on this project as you would like. You can create vision board in an hour or curate one over several days with much thought and contemplation. It is completely up to you.
Step 1: Gather your supplies
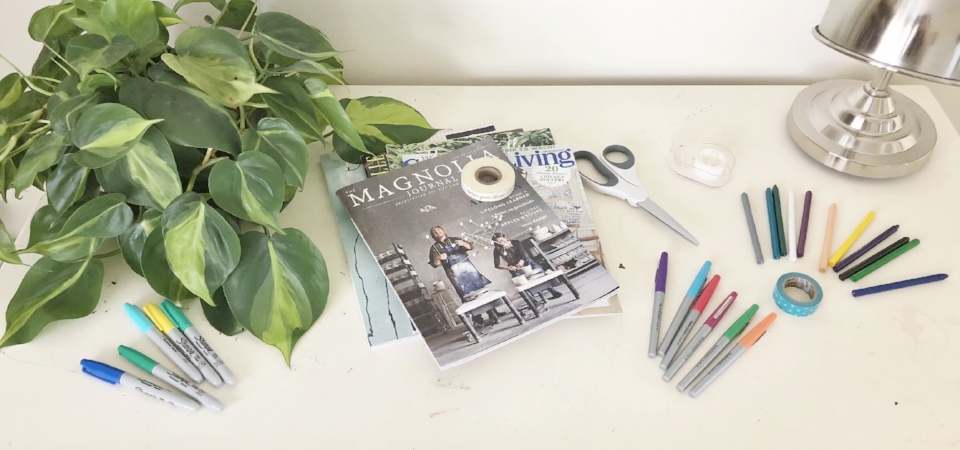
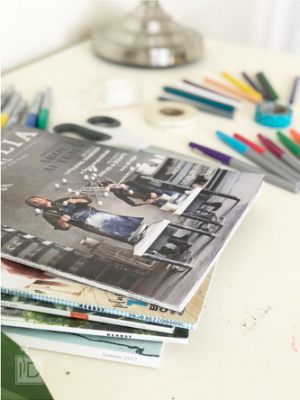
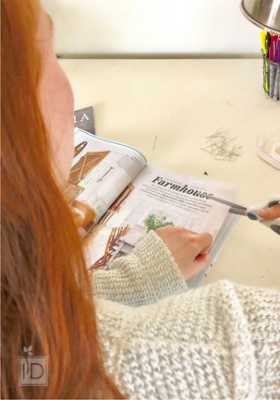
A vision board is a tangible board so you will need either a piece of blank paper, poster board, a cork board, or canvas. You can make your vision board as big or as small as you’d like. I created my vision board on my large cork board right above my desk in my office. This way I can see it daily, be reminded of my goals and passions, and be inspired to keep pressing on. Next, you will need to collect old magazines, family photos, old newspapers, etc. Because this is a visual project, we will want to find images and words that depict our values, dreams, and goals for our vision board. I broke out my stack of old Country Living magazines along with a few other magazines, and cut out words, pictures, letters, pieces of articles, recipes, etc. You will also need a pair of scissors, markers, paint, watercolors, colored pencils, crayons—whatever speaks to your artsy, creative self. I personally am not artistic, so I chose to create my vision board solely with magazine clippings. Lastly, you will need either glue, tape, or push pins to attach all of your inspiration photos and words to your board.
If you don’t resonate with images and are more of a list person, you can also write out your goals and dreams in a list format.
Quick List of Supplies:
Poster board, cork board, piece of blank paper, canvas
Stack of old magazines, family photos, old newspapers
Scissors
Markers, paint, watercolors, colored pencils, crayons
Glue or tape if using paper or poster board. If you are using a cork board or canvas, you will need push pins. I used the thin sewing pins with the pearl tipped end. They work wonderfully because they are thin and appealing to the eye! You could also find some fun colored or different shaped push pins.
Step 2: Vision Board Vision
Spend some time meditating on what you want your vision board to include. Will it be solely personal? Will it focus on your business vision and goals? Will it be a mix of both? Will it be for your passion projects? Will it be a place to hold memories and upcoming events/trips/to-dos? Will it be a place to encourage you to cultivate the type of lifestyle you desire for yourself and your family? If you are going to spend a longer amount of time on this project, this is the step where you should spend that time. I hope you will mindfully consider your goals and the type of lifestyle you hope to lead. This is the most crucial step in creating your personalized vision board. Envision what matters to you most, where you want to be in the next year, five years, ten years. Think about the legacy you want to leave behind. Consider the dreams you have deep inside of you that you keep putting off until tomorrow. Now is the time to visually bring these things to light and life.
Step 3: Inspiration and Imagination
It’s time to get to work and begin flipping through your old magazines and clipping words and images that inspire you. Again, feel free to use any and all of the materials listed above. Perhaps you want to create your own graphics with quotes or words of encouragement.
Step 4: Arrange your vision board
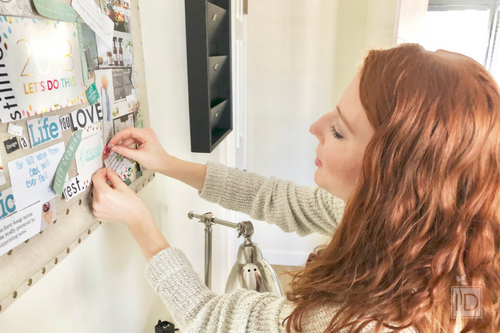
This was my favorite part of the process—figuring out how to visually create my board and place each and every piece of encouragement and inspiration. I re-did my board three times over a period of a few days because I wasn’t quite sure how I wanted to organize it. Now, hear me when I say you certainly don’t need to spend three days on this step. I found it helpful to lay out all of my clippings and pictures and then begin to arrange them in a way that spoke to me. I ended up arranging and organizing my board in themes/areas of my life. I did a section on healthy eating, lifestyle/hospitality, my dreams and business goals/ideas, and then I sporadically placed quotes, Bible verses, and words of encouragement. Below my ‘Let’s Do This’ postcard from my PowerSheets, I placed a slightly adapted version of my business tagline—Design a Life You Love. I found those words in varying sizes and styles throughout my magazines and placed the emphasis on Life and Love!
Step 5: Attach and Create
Once you figure out how you want to arrange and organize your board, it’s time to start putting the pieces together. For me, that involved pinning each photo and magazine clipping. If you are using paper or poster board, this step could also include you drawing, painting, writing, or doodling your own words and images.
Step 6: Sit back, enjoy, and be inspired daily!
Now, step back and admire the beautiful piece of art you just created! I hope you are proud of this piece of art because it truly represents you, your passions, interests, goals, and dreams.
Are you ready to visually create your dream? Your goal? Your best year?
We want to see your vision boards! Tag @independentorg #IDthrive on Instagram to show us your creations.
Originally published 2/7/18
How to Create Your Personalized Vision Board
Meet Meghan Meredith
Meghan Meredith
Meghan Meredith is an Air Force wife currently living in Atlanta, GA with her husband, baby boy Duke, and fur-baby Nusu. She is the founder of HomeBodySoul, a lifestyle wellness brand for women where she seeks to inspire and educate women on how to best steward their homes, bodies, and souls. She is a Certified Personal Trainer, Group Exercise Instructor, and a Health/Wellness Coach. She loves green tea, being outdoors, and slow mornings.
Connect with Meghan
Facebook | Instagram | Website | Fitness Planner | Email

